Wednesday, March 16, 2011

Spring Pom Flowers and Tutorial

Perfect little instant gratification project to brighten up your day!

Simple flower pom poms made out of yarn and hot glued to twigs from the back yard and placed in a few assorted glasses salvaged from a recent refrigerater clean out.

And you have beautiful spring blooms that won't wilt away and die! Or early blooms for those of you still with snow.


I can't take complete credit for this, my mom showed me something similar in a magazine (can't remember which one, she must read a million of them). They were advertising a kit to make the pom poms.

But, they are so simple to make there is no need for a kit. It's also a great stash buster. I just used yarn I had. I would have loved to make them out of all shades of blue and green.

Here's how to make these super simple pom poms. You begin by wrapping the yarn around your fingers. You can make them smaller or bigger by adding more or less fingers. You could also just wrap it around a tablet of paper as well.

Keep wrapping until the yarn is thick and about two inches wide. The more times you wrap around, the rounder your pom will be.


When you have wrapped it around enough slip it off your fingers. Be careful to not let it fold in on itself. Cut off another piece of yarn about five inches or so wide.


Lay the wrapped yarn on top of that and tie it really tight around the middle. Knot it.


Next you will cut all the loops on the top and the bottom.


Once you have cut all the loops flatten it out so that cut ends lay out flat and the knotted string is in between. Hard to explain, just look at the picture.
Next trim around the pom
to make all the yarn even and more full.


When you have trimmed off enough your pom should be nice and round and full.


Now, simply hot glue the pom to the end of a twig and slip into a glass jar and you are ready to go!


So springy fresh!


Saturday, March 5, 2011

Daisy Head Mayzie


Today was Dr. Seuss day at the Delmarva Discovery Center (love that place). Costumes were encouraged...enough said! So we looked at some books and M decided Daisy Head Mayzie was for her. So last night when I looked the date up online and discovered Dr. Seuss Day was today (yikes) I just used stuff I had on hand.

So this is by far not my best work, still adorable none the less. The dress is made out of a sheet, that I am not even sure where it came from, that we dyed pink.

I just used a shirt of M's as a guide and made a gathered skirt with a simple bodice and exaggerated sleeves with scalloped trim. Zipper up the back and large white sash tied into a bow and done!


Hardly any other kids dressed up, but that didn't bother her a bit. She was so into this! I love it.


She was a little upset that she didn't have pink shoes like in the book, but in the end she got over it. She wore that daisy like a crown! Fun!


Sunday, February 27, 2011

Sweater Refashion Tutorial

My absolute favorite sewing projects right now are taking something out of my closet that I don't wear anymore and resizing it or remaking it into something for M!


Introducing, three quarter sleeve short cardigan for Mommy refashioned into a grandpa cardi for M.


Start with your cardigan inside out. I used one of her shirts for the pattern. Make sure the sweater is lined up correctly. And...

CUT! Once you have the body of the cardigan cut out, I just used the armholes as a guide for cutting the sleeves (sorry no picture). Go ahead and cut off all the ribbing too. Since the top seam of the cardigan will still be in use, go ahead and pin the sleeves to the body.

Sew the sleeves onto the body of the cardigan, lifting the pressure foot to relieve tension as needed. Sweaters love to bunch up and stretch on you.

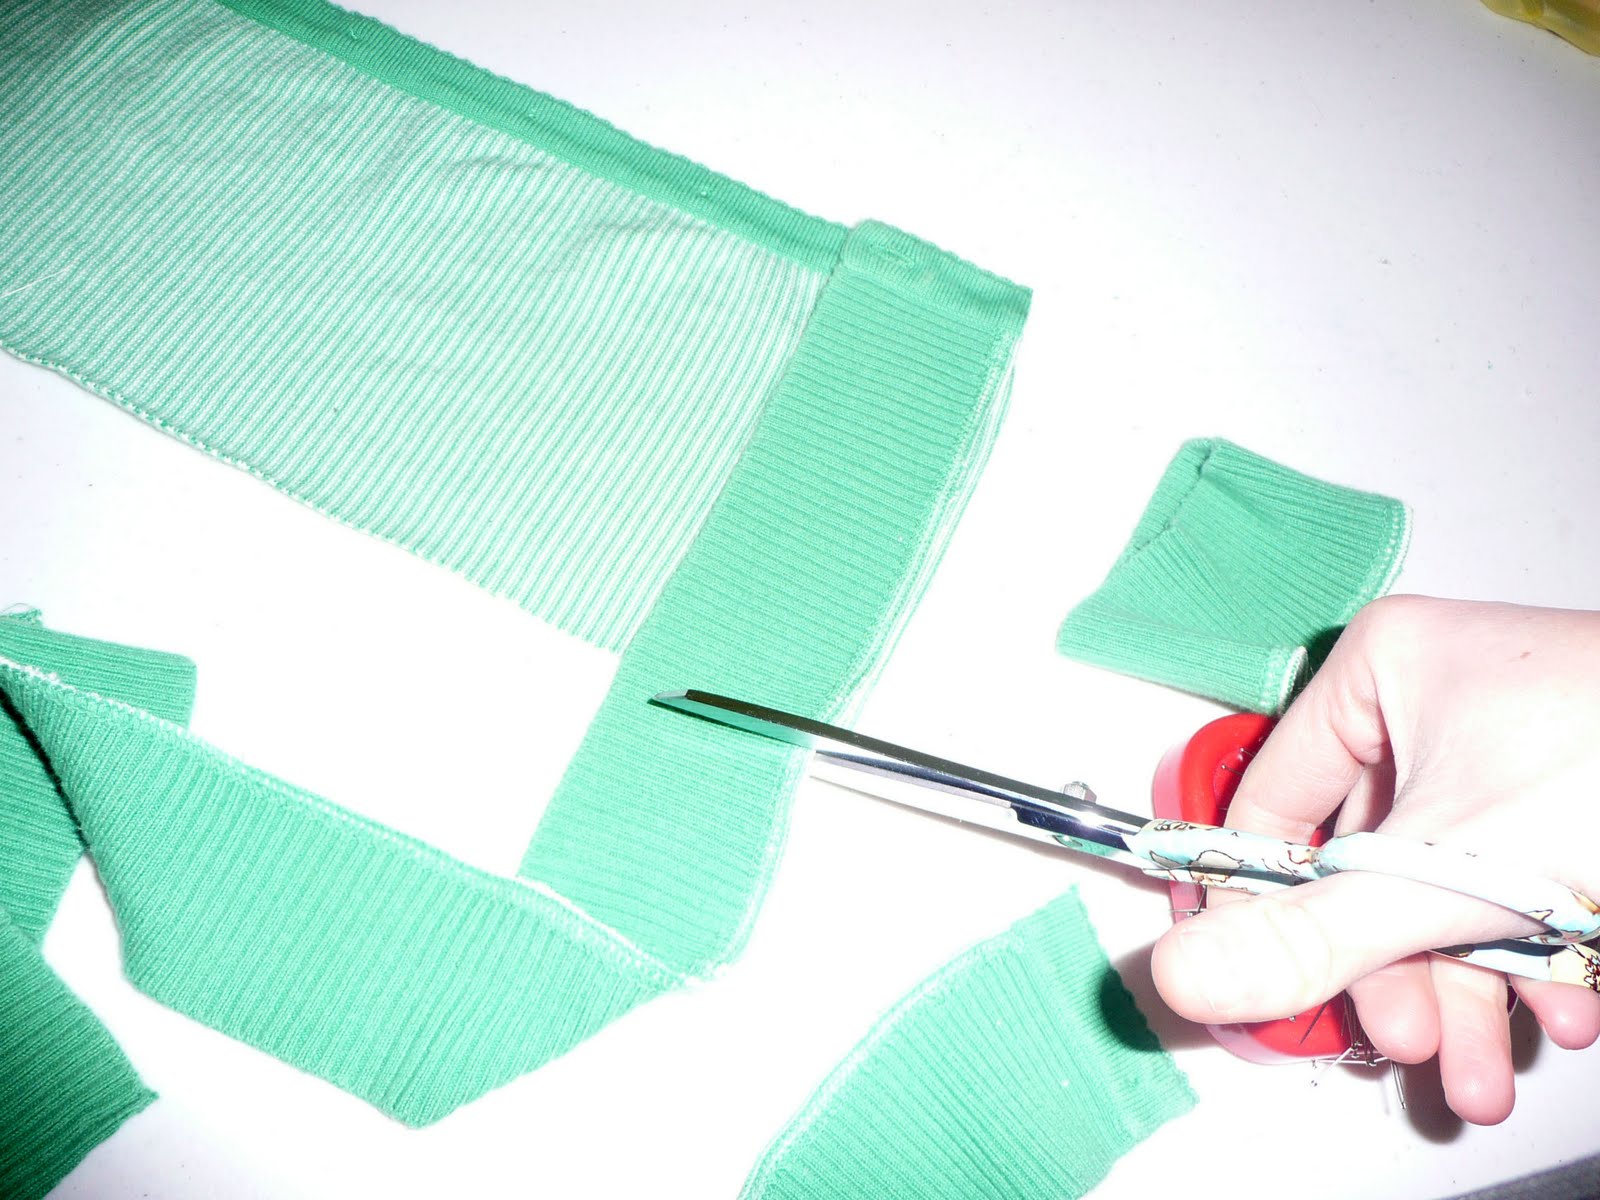
Once the sleeves are attached, use the actual sweater as a guide to cut your ribbing.

Pin all your ribbing in place and attach it. Sew fairly close to the edge.

Now, for the final seam. Lay sweater flat and pin sides from bottom of sweater all the way to the wrist holes. Sew up the side seams and you are done!

A super cute more stylish sweater for the wee one out of something literally just sitting in my closet!


Love these projects!

Tuesday, February 15, 2011

Little bit of vintage, whole lotta awesome!

Spring has sprung over here at Kiki Burleigh! This seasons bags are constructed of almost entirely repurosed material and vintage fabric. They feature a chain strap in just the perfect length for hanging on your arm. Don't want a strap, you say...it's your lucky day. Not only do the straps detach, they can be folded inside so you can sport a clutch. These little bags are just perfect for completeing an outfit and making it completely you!

The bags are one of a kind, adorned with fun ruffles, rolled flowers, buttons, and pleats. Can't you see Betty Draper rockin out the velvet bag above?

This bag lived it's first life as a bridesmaid dress!


I love the oversized knit bow adorning this bag made from a fabulously colorful vintage sheet!


This bag is made froma super sexy silk dress, and is now adorned with three rolled flowers and a rick rack leaf motif.

This springy fresh bag is made out of another vintage sheet and adorned with a crochet flower upcycled from an item of clothing, and a knit rolled flower. Cute!

Bags are arriving daily in Kiki Burleigh retail locations. Stayed tuned for a brand new Kiki Burleigh website this spring.


Thursday, November 4, 2010

Skinny Jeans Tutorial

Here is a quick and VERY easy tutorial to change regular flair leg or boot cut jeans into more stylish skinny jeans.

These are a pair of hand-me-down toddler flair legs jeans we recieved and a few minutes later are transformed into some super cute skinny jeans.

First, turn the jeans inside out and make sure the hem of the jeans is even on the bottom. Start sewing from the bottom of the leg of the jean. I sewed in about an inch and a half. Sew straight up and then gradually ease back toward the orignal seam somewhere in the hip.

I sewed both legs twice for durability. Cut off the excess jean.


If you want you can serge the edge, so if you need to roll of the jean you have a nice finished edge.


Turn the jeans right side out and press out your seam. Done. Super simple way to make the jeans you already have in your closet more stylish!


I think I am gonna try this on some of my own jeans! Love it!


Wednesday, September 29, 2010

Long Sleeve T Refashion


A cheap thrift store find ($1), long sleeve striped t-shirt, that I refashioned into this adorable mini dress for Marlow. Luckily it was an XL, so I had plenty of fabric to work with for a size 4t dress.


I just cut the shirt apart and used one of Marlow's shirts to make the pattern. I used a strip of leftover white knit to make the bib ruffle, and some cheapo walmart buttons and there you have it.

Topped it off with some dark purple tights and her favorite blue "diamond" shoes, and she was set.


I don't know, think she likes it?


Thursday, August 5, 2010

The Kiki Burleigh Diaper Bag Experience!!!

Kiki Burleigh diaper bags are made out of completely WIPEABLE oilcloth fabric. The fabric is designed by Japanese textile designer Etsuko Furuya and printed on linen. Which makes it nice and sturdy. I just love her prints, my favorite ever!

The bags feature an adjustable strap that can be worn on one shoulder or messenger style. The bag has a vinyl bottom, strap, strip across the top and flap adorned with my husbands hand crafted button.

On each side of the bag are lined elasticized pockets, just perfect for slipping in a bottle!


I just love this orange and brown combination with the hints of magenta and turquoise.


All the bags come with a coordinating changing pad to lay out on any surface. And they fold up easily and can be stored inside.


The interior of the bag is made out of laminate fabric as well. It also features a key clip and two large zippered pockets. The bags are super roomy, super cleanable, and super stylish. They don't look like traditional diaper bags, it just looks like you are carrying a super cute purse! All the bags are made to order and there are lots of different fabric choices. Contact me today and we can create a fantastic bag just for you.